Generating Labels and Wikis Preview
Try out Dremio's Generative AI for managing data! This tutorial guides you through the steps on how to generate labels and wikis for your datasets, so you can minimize the need for manual profiling and cataloging.
Prerequisites
Before you begin, sign up for Dremio Cloud and create your first project.
After you’ve signed up and created your first project, you first need to enable Generative AI, then you can generate labels and generate a wiki!
Step 1. Enable Generative AI
Opting into and enabling Generative AI provides you access to the Text-to-SQL experience, generated labels and wikis, and other Generative AI features as they become available.
For information about Dremio Cloud's AI features, see AI.
To enable Generative AI:
- Go to Project Settings > Preferences.
- Toggle on the Generative AI preference.
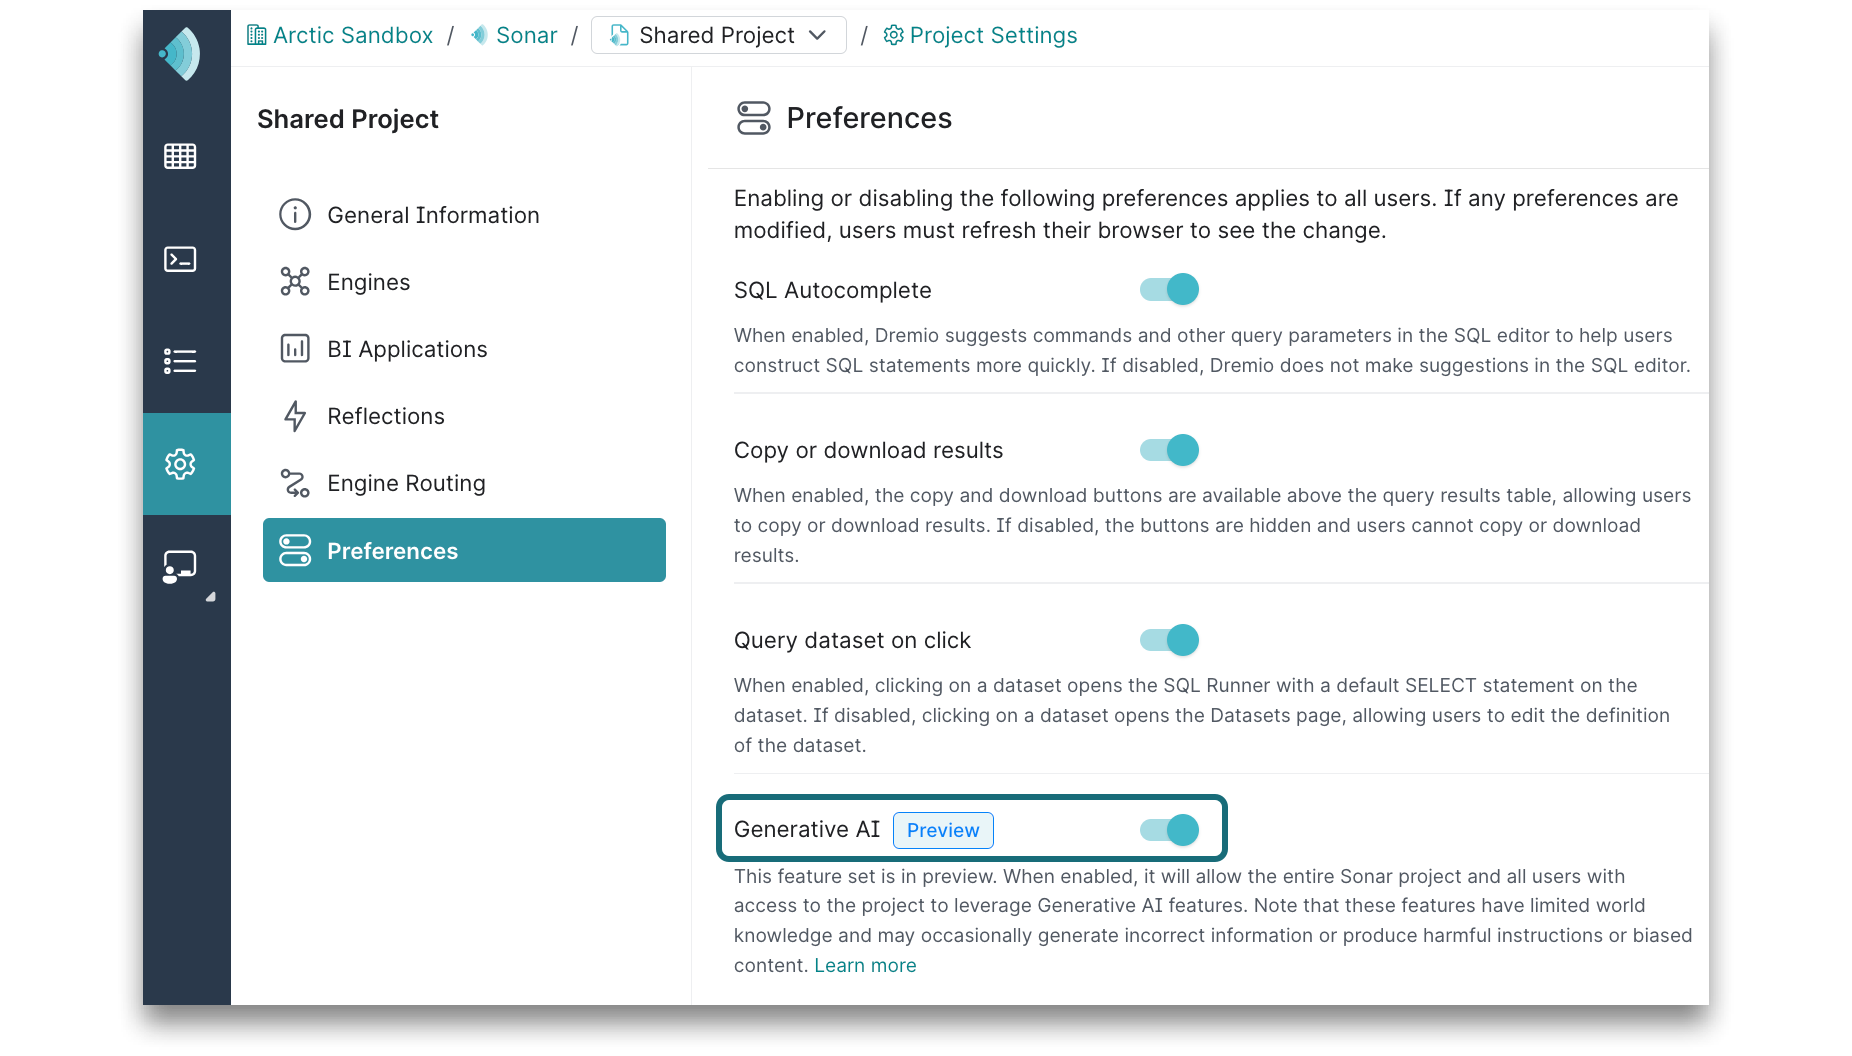
This feature set is in preview. It will allow this entire Sonar project and all users with access to the project to leverage AI features. Note that these features have limited world knowledge and may occasionally generate incorrect information or produce harmful instructions or biased content. For more information, see Data Privacy.
Now you can manage data using Generative AI!
Step 2: Generate Labels
In order to generate labels, Generative AI bases its understanding on your schema by considering other labels that have been previously generated and labels that have been created by other users.
To generate labels:
-
Navigate to the Datasets page by clicking
 in the side navigation bar.
 -
In the Data panel on the left, locate
Samples."samples.dremio.com"."NYC-taxi-trips-iceberg". -
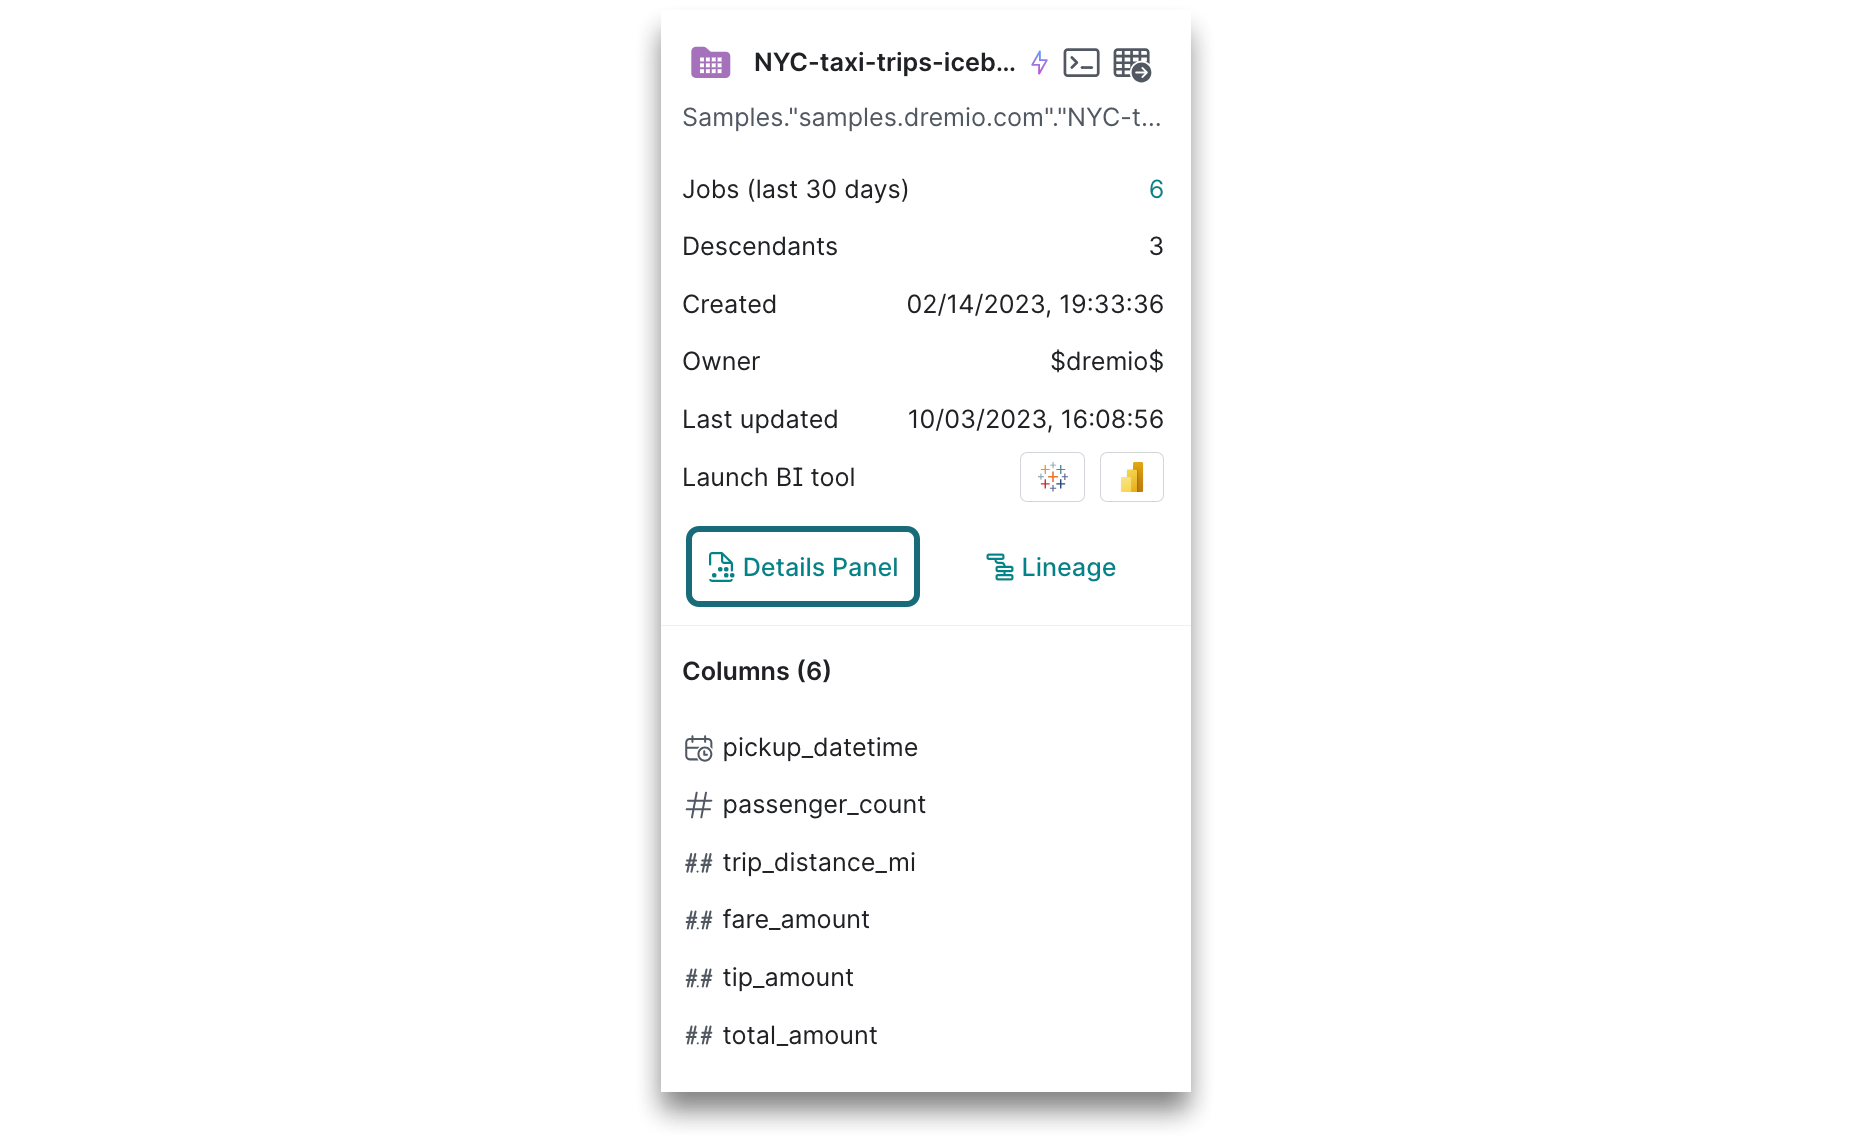
Hover over the dataset until a metadata card appears and click Details Panel.
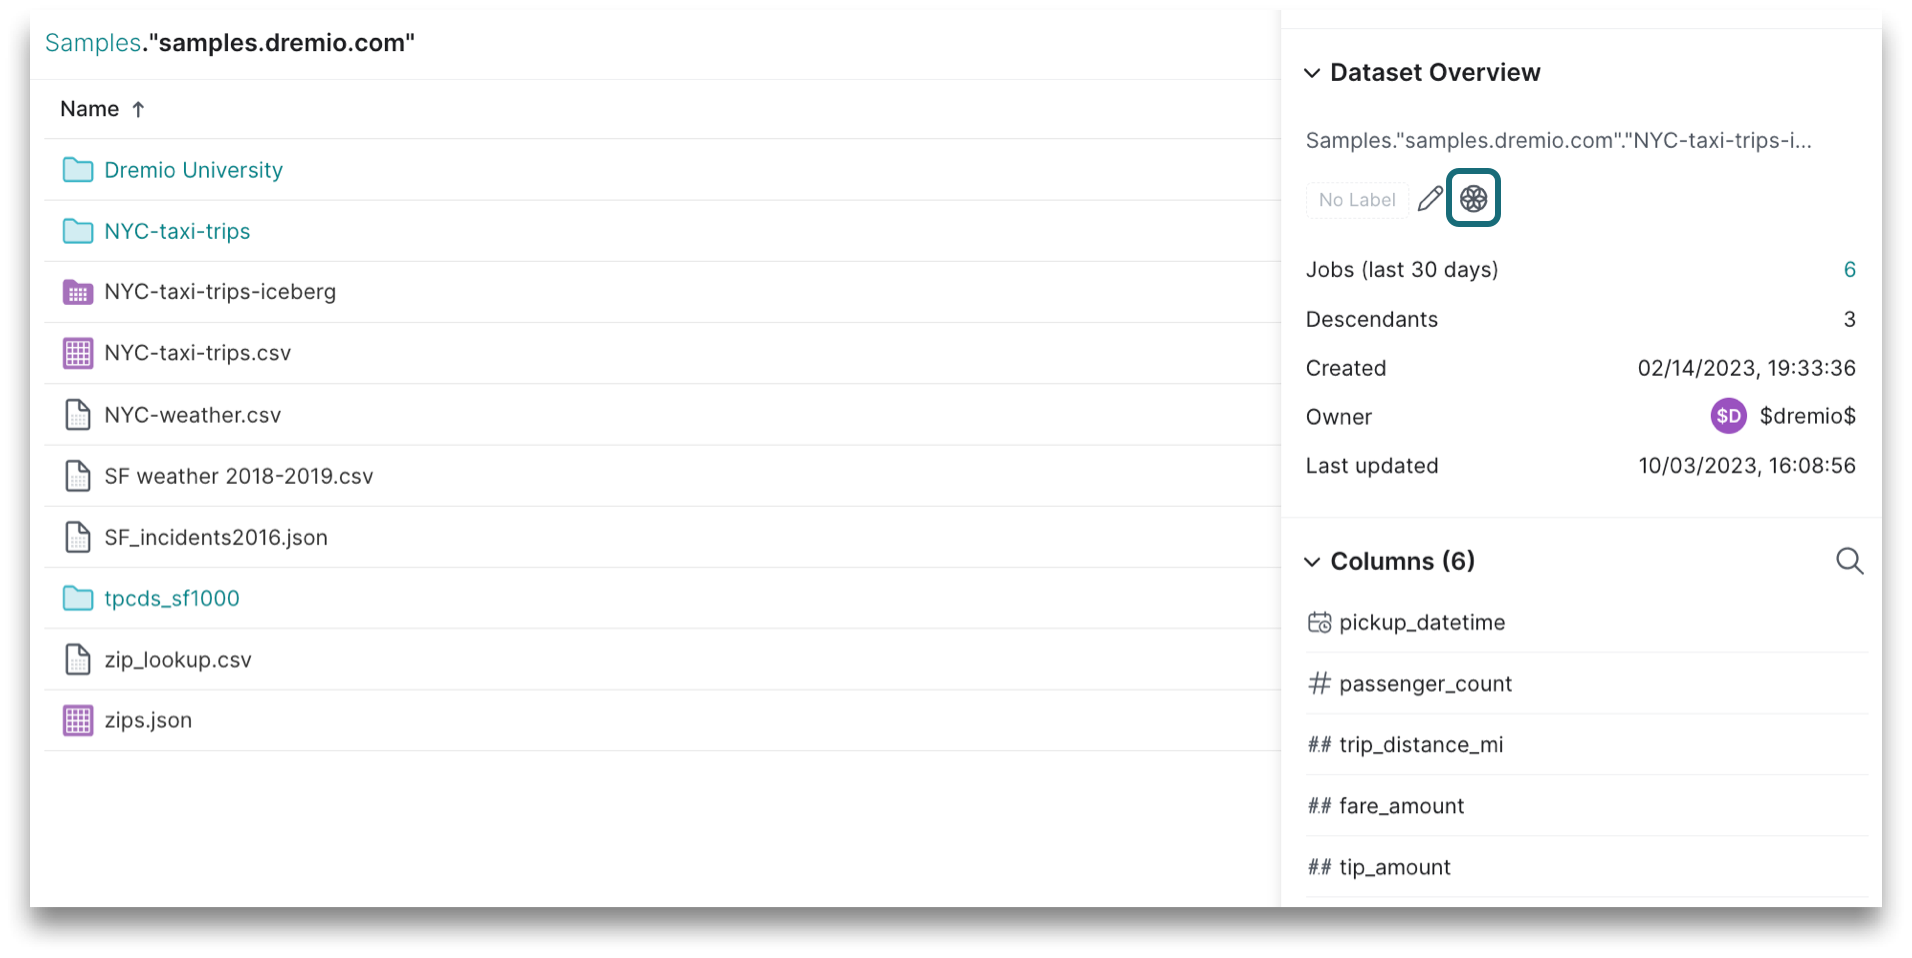
- In the Dataset Overview on the right, click
 to generate labels.
- In the Generating labels dialog, review the labels generated for the dataset.
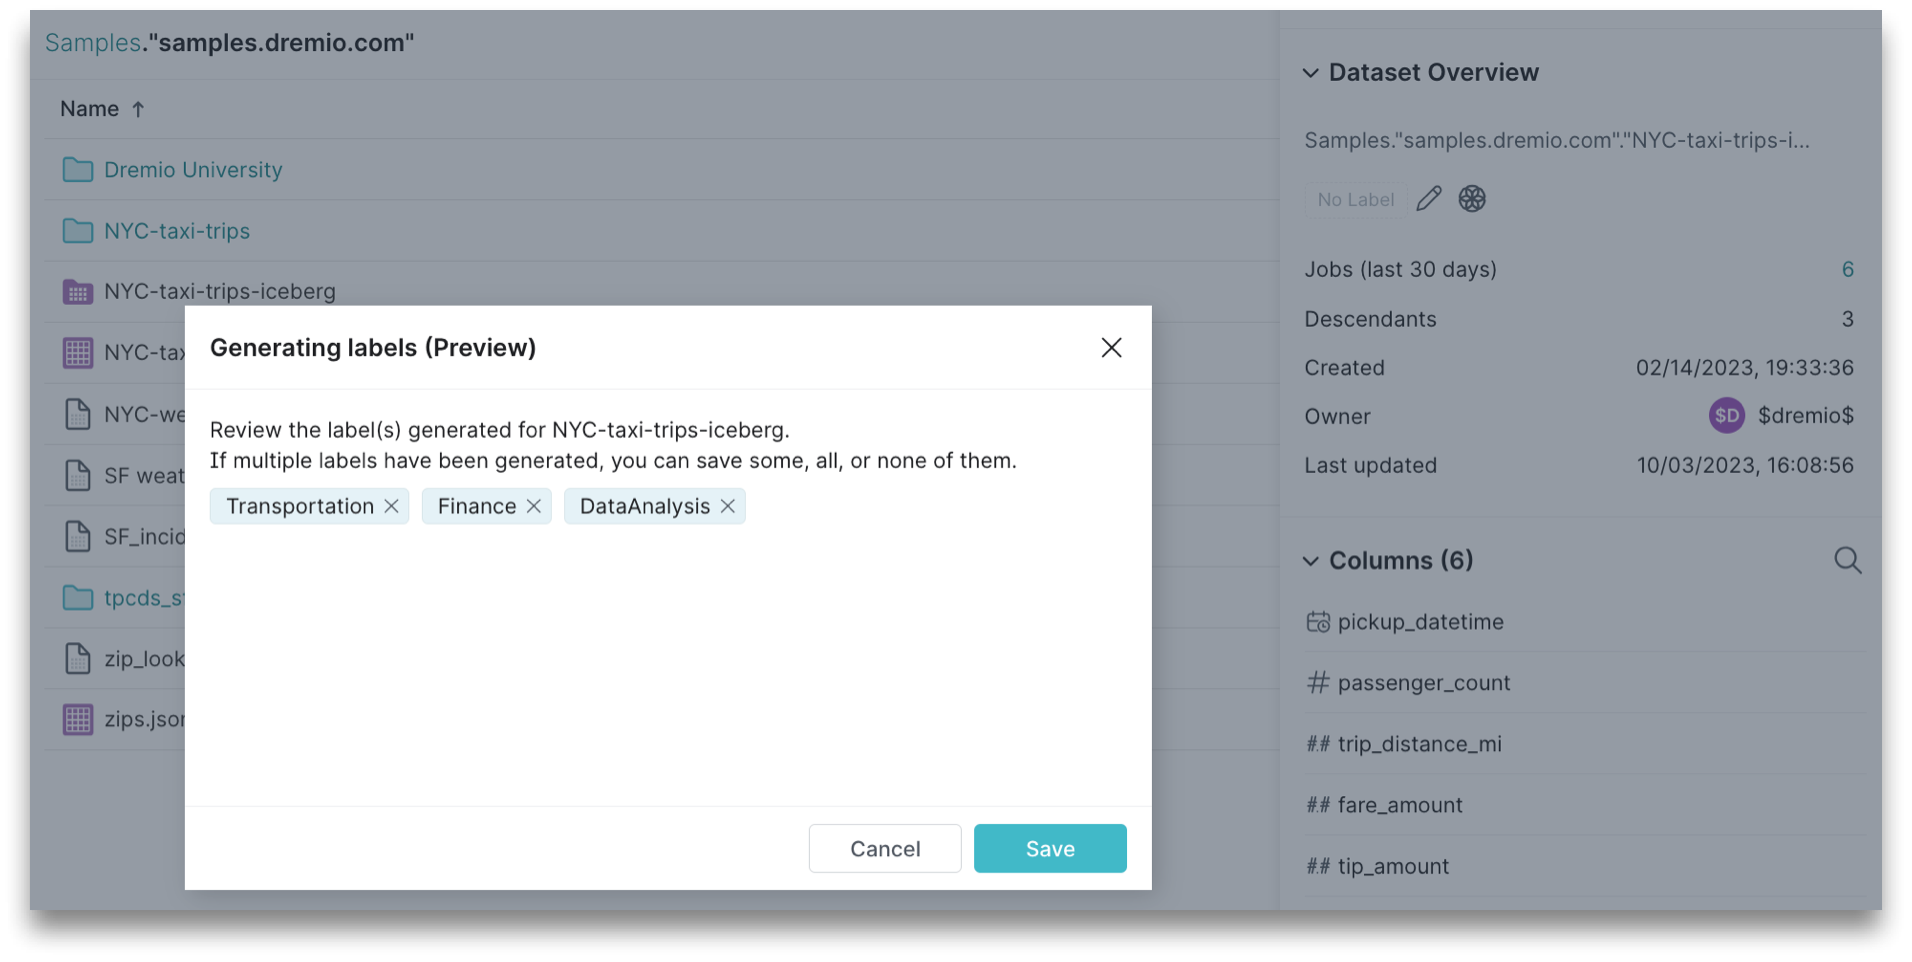
- Click Save.
The labels for the dataset will appear in the Dataset Overview.
Step 3: Generate a Wiki
In order to generate a wiki, Generative AI bases its understanding on your schema and data to produce descriptions of datasets, because it can determine how the columns within the dataset relate to each other and to the dataset as a whole.
To generate a wiki:
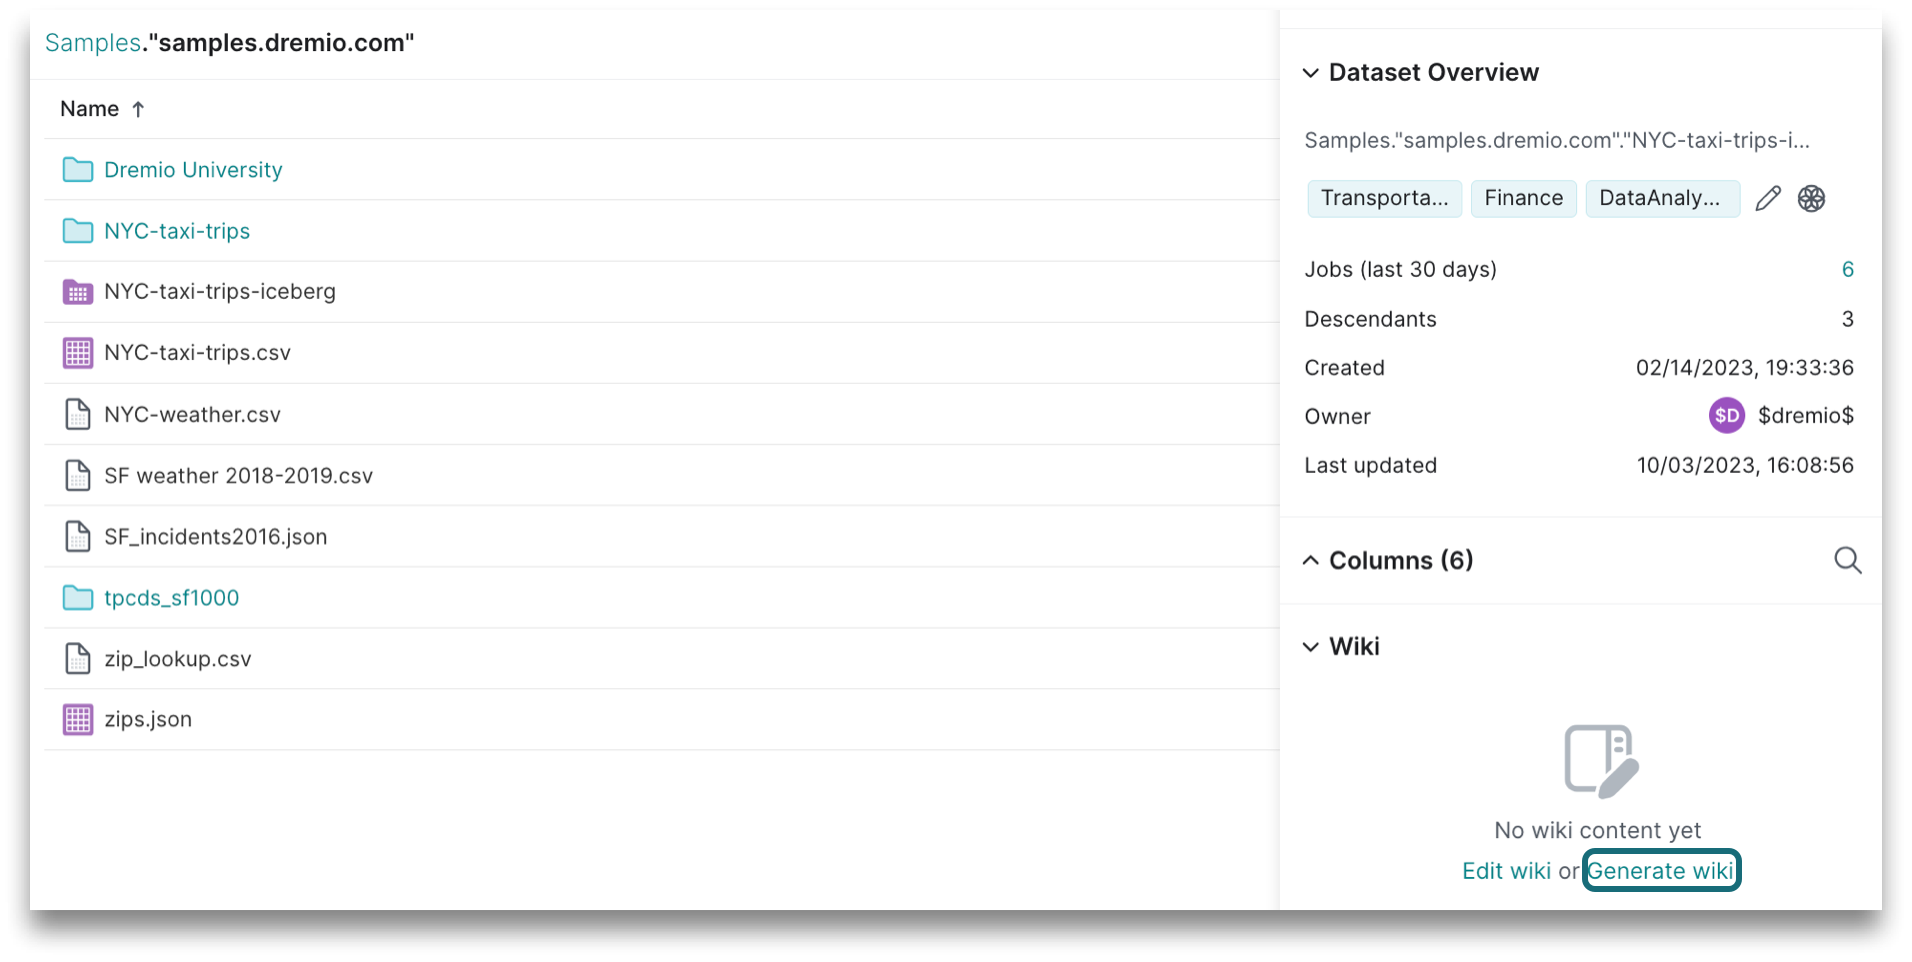
- On the Dataset page for
Samples."samples.dremio.com"."NYC-taxi-trips-iceberg", click Generate wiki in the Wiki section. A dialog will open and a preview of the wiki content will generate on the right of the dialog.
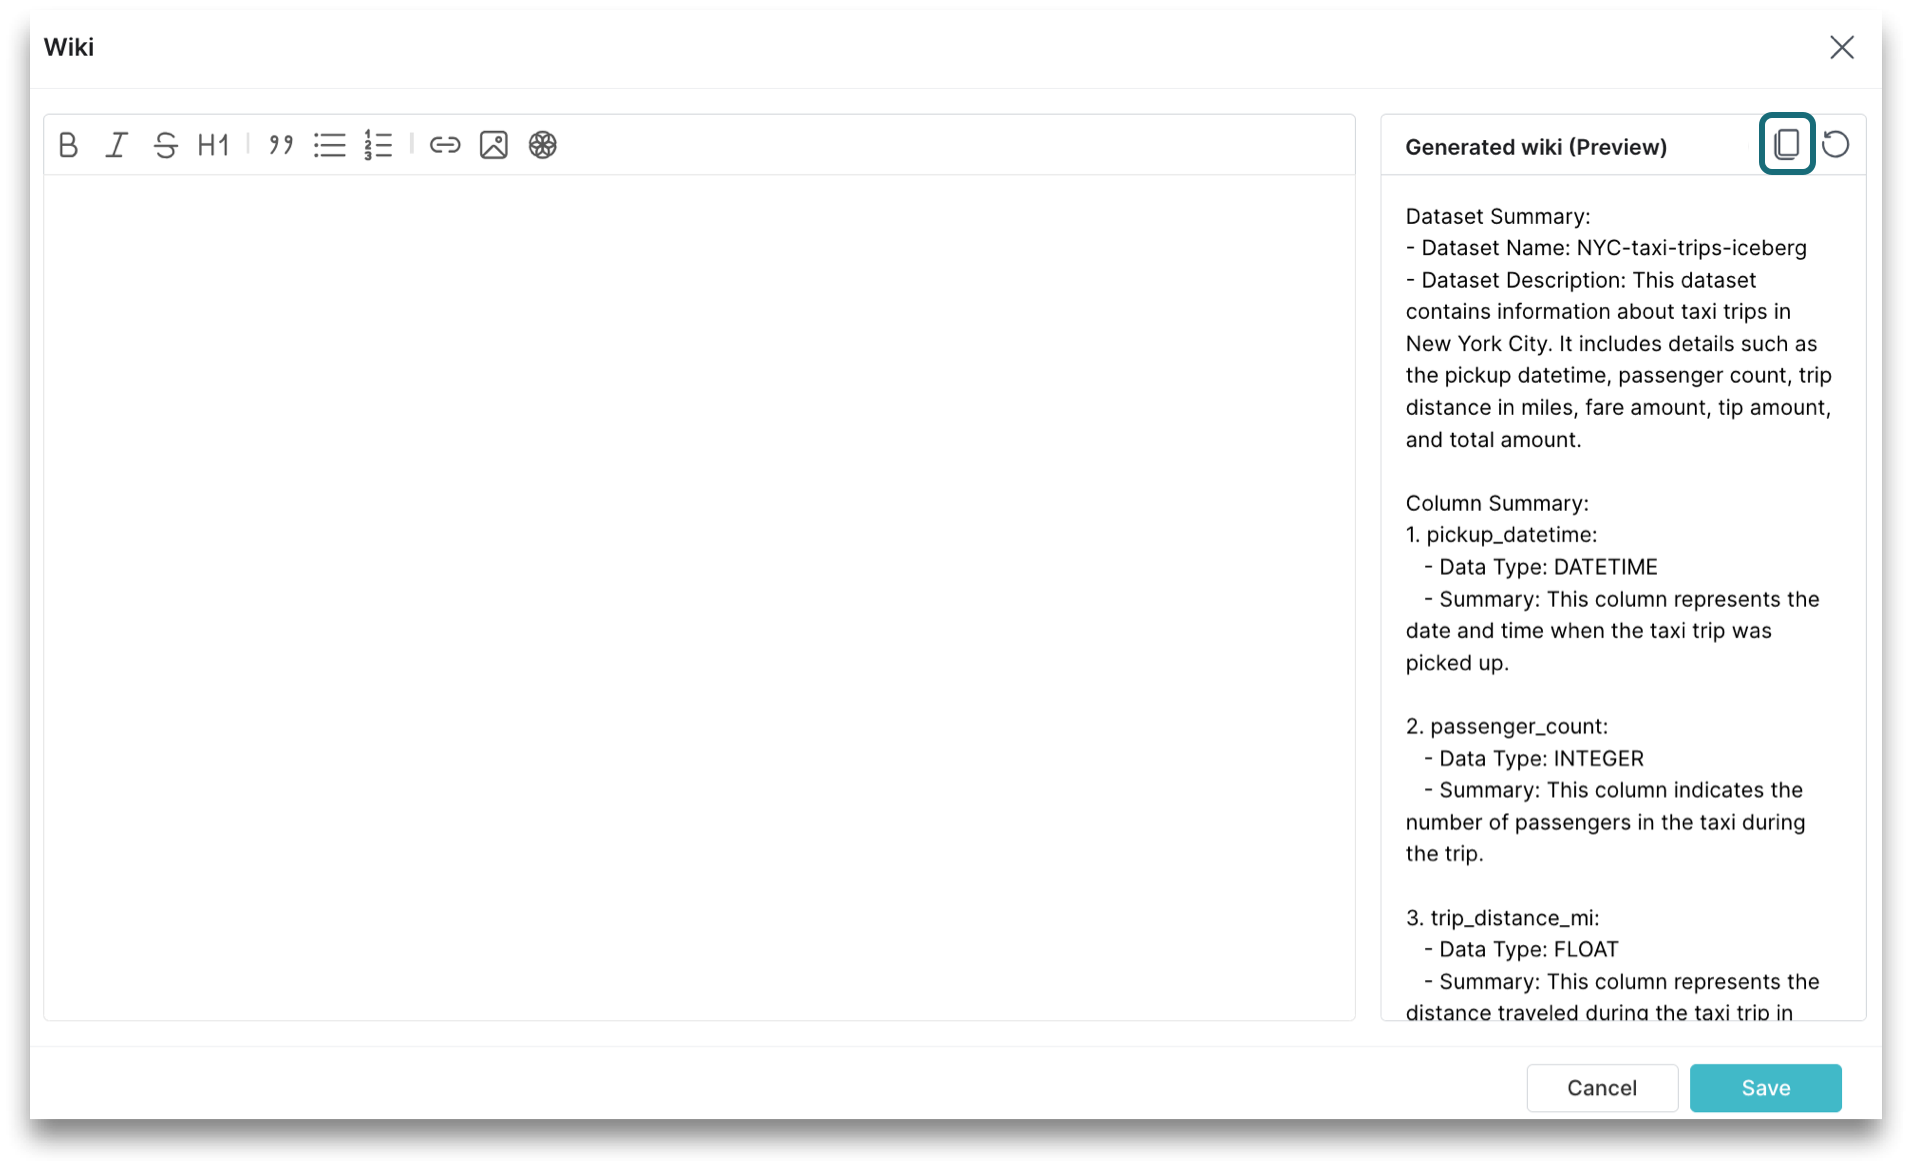
- Click
 to copy the generated wiki content on the right of the dialog.
- Click within the text box on the left and paste the wiki content.
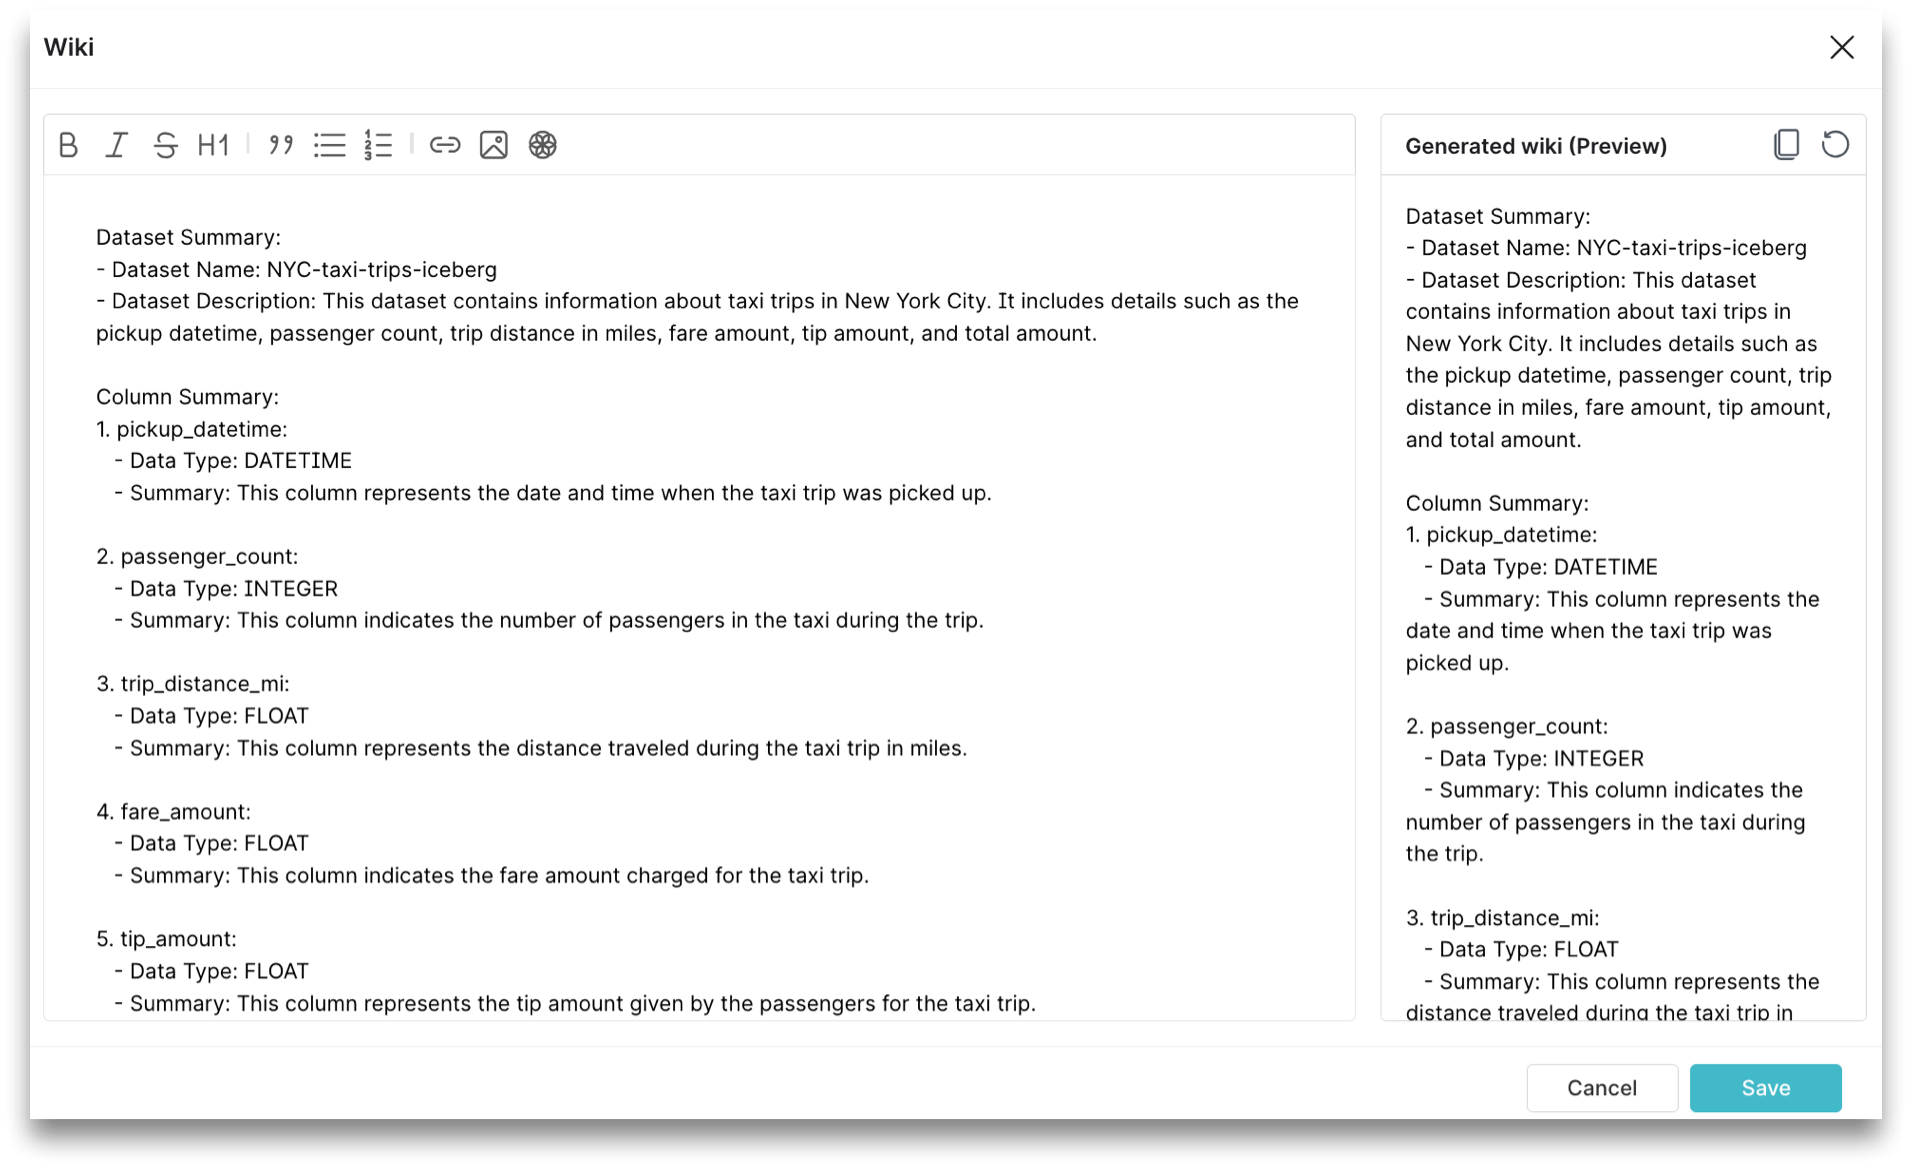
- Click Save.
The wiki for the dataset will appear in the Wiki section.
Wrap-up and Next Steps
You've reached the end of the tutorial! You should feel confident that you have a basic, but solid, knowledge of how to use Generative AI to manage your data and minimize the need for manual profiling and cataloging.
To learn more about Dremio, check out Getting Started with Dremio.
Have Questions?
If you have questions about the concepts in this tutorial or other Dremio features, reach out to us using the chat feature ![]() in the bottom-right corner of the Dremio application.
in the bottom-right corner of the Dremio application.