Creating Your First Project
This tutorial walks you through setting up your first Dremio Cloud project.
Prerequisites
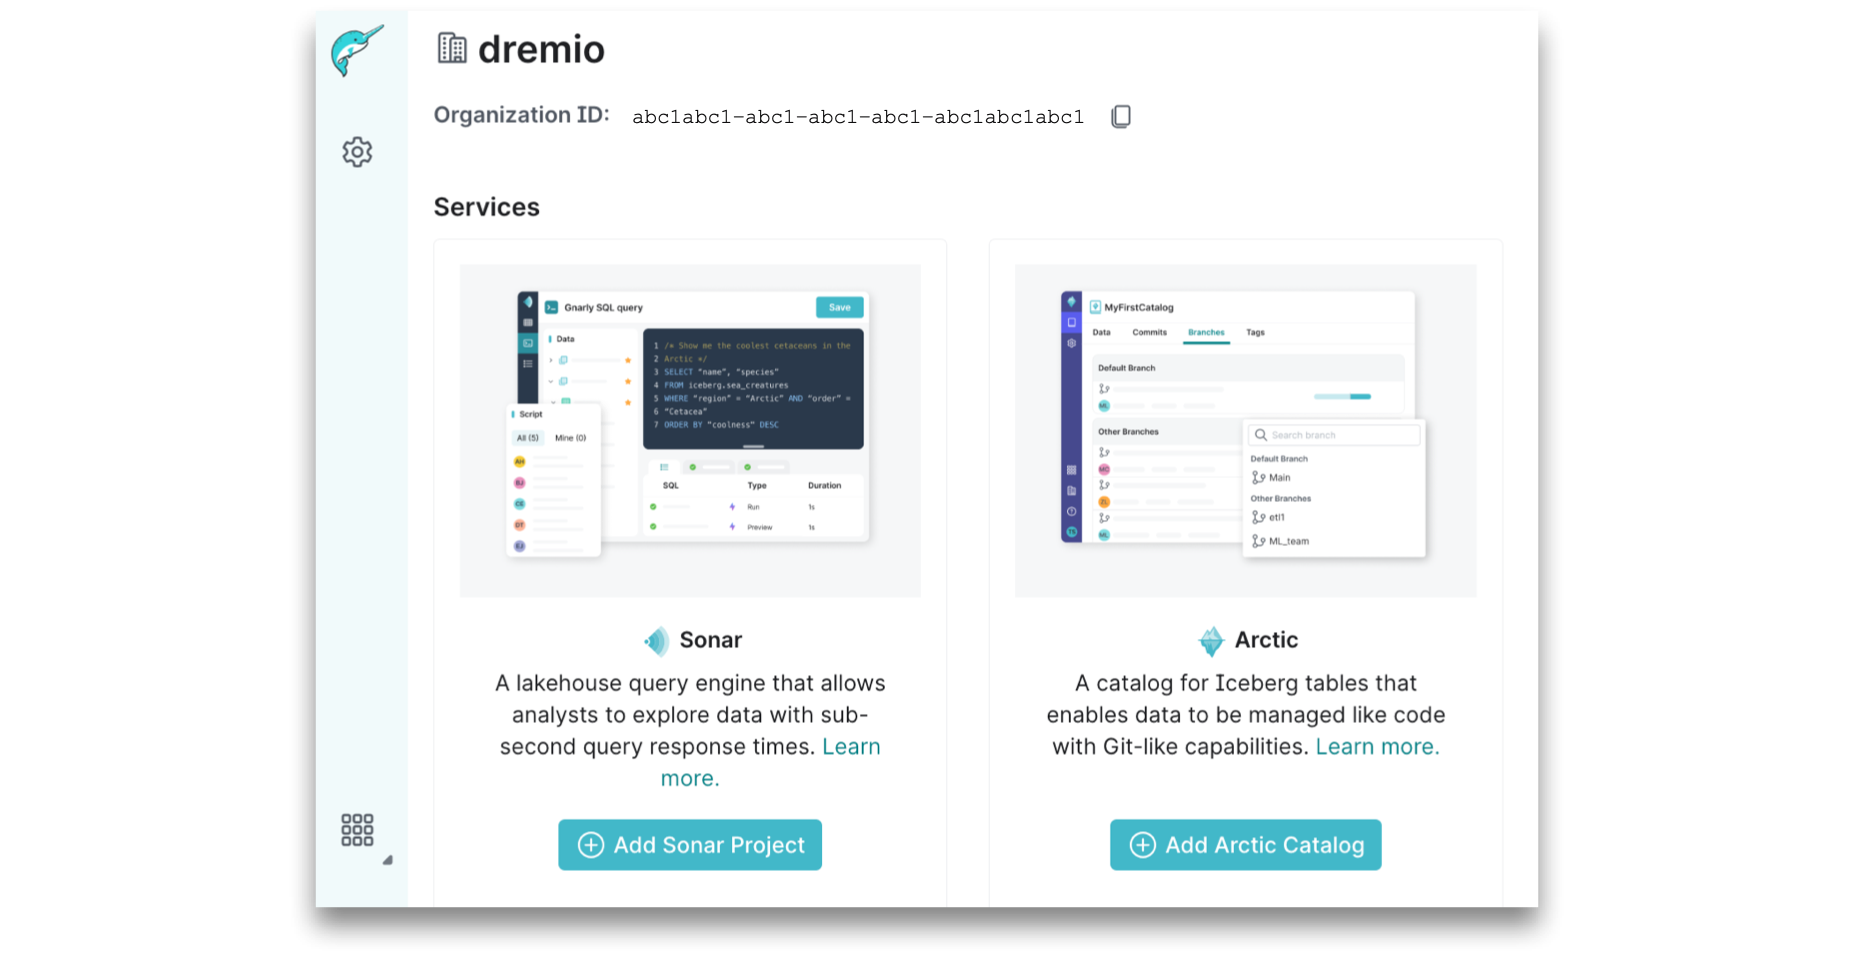
Before you begin, sign up for Dremio Cloud and verify that you meet the prerequisites. After you’ve signed up, you’ll be logged into your organization and navigated to your organization homepage.

You can now get started with adding a Sonar project.
Add a Sonar Project
This tutorial uses the CloudFormation template for connecting an AWS account, which is the recommended method for configuring project resources. For more information on the resources being created and the permissions granted to Dremio, see the annotated CloudFormation Template.
If you want to manually create cloud and project resources for AWS instead, see Configuring Your Cloud Resources Manually.
After addressing the prerequisites, follow these steps to create your first Sonar project:
-
On your organization homepage, click Add Sonar Project on the Sonar card.
-
In the Add Sonar Project dialog, for Project name, specify a name to identify your project. You can change the name of the project after creation.
-
For Arctic catalog name, specify a name to identify the primary catalog in your project. The name cannot be changed once the catalog has been created.
-
Select a cloud provider.
-
Select the region in which compute resources and the project store will be created. For a list of supported regions, see Supported Regions.
-
(Optional) Add one or more tags to help you identify compute resources for this project in your cloud provider account.
-
Click Next.
To continue the configuration, follow the steps for your cloud provider.
- AWS
- Azure
- Click Launch CloudFormation Template, which will open the AWS console in a new browser tab.
- On the “Quick create stack” page in the AWS Console, for Stack name, enter a name to identify the stack. This name must be unique to your AWS account and cannot include underscores.
- For VPC, select the VPC in which compute resources will be created.
- For Subnets, select one or more subnets where compute resources will be created.
- For Project Store, a unique name has been generated for the S3 bucket that will be created in your AWS account as the metadata store for your project. You can specify a different name here but it must be unique across AWS.
- For Encryption Type, SSE-S3 is the default encryption mechanism for the project store S3 bucket. You can select SSE-KMS (AWS Managed Key) or SSE-KMS (Customer Managed Key) for additional encryption. If you select SSE-KMS (Customer Managed Key), specify the KMS Key ARN.
- Check I acknowledge that AWS CloudFormation might create IAM resources.
- Click Create stack.
It will take about 5 minutes to create the required storage and compute resources for the project.
When stack creation has completed in the AWS Console, return to the Dremio Console to start querying sample data and creating your first table.
- For Tenant ID, paste the ID of the Azure tenant.
- For Project Store, paste the name of the storage container that you want to use for the project store.
- For Account Name, paste the name of the storage account that you want to use for the project store.
- For Client ID, paste the application (client) ID of the registered application.
- For Client Secret, paste the value of the client secret that you created in the registered application.
- Click Validate for the policy JSON.
- For Tenant ID, paste the ID of the Azure tenant.
- For Subscription ID, paste the ID of your Azure subscription.
- For Client ID, paste the application (client) ID of the registered application.
- For Client Secret, paste the value of the client secret that you created in the registered application.
- For Resource Group, paste the name of the resource group.
- For Subnet, paste the name of the subnet.
- (Optional) For Network Security Group, paste the name of the security network group.
- For Virtual Network, paste the name of the virtual network.
- Click Validate.
- Click Done.
It will take 4-5 minutes for your first project to complete the setup process.
If you encounter errors during resource creation for AWS, see Dremio Cloud Troubleshooting for AWS.
If you encounter errors during resource creation for Azure, see Dremio Cloud Troubleshooting for Azure.
Wrap-up & Next Steps
You're done setting up your Dremio Cloud account! Learn more about how you can quickly create a semantic layer and optimize your queries with the Getting Started with Dremio tutorial.
You can also preview going from natural language to SQL with a single click with the Analyze Data Using Text-to-SQL tutorial.
Have Questions?
If you have questions about the concepts in this tutorial or other Dremio features, reach out to us using the chat feature ![]() in the bottom-right corner of the Dremio application.
in the bottom-right corner of the Dremio application.