Managing Catalogs
You can use the Arctic UI or Arctic Catalogs API to manage your organization's Arctic catalogs.
- Ensure you have sufficient Role-Based Access Control (RBAC) privileges to manage Arctic catalogs.
Viewing Catalogs
To view the list of all Arctic catalogs in your Dremio Cloud organization, in the Dremio console, click ![]() in the side navigation bar and select Arctic Catalogs.
in the side navigation bar and select Arctic Catalogs.
The Arctic Catalogs page lists all Arctic catalogs in your organization, along with basic information such as catalog name, owner, and date created. Click on any catalog to view additional details about it.
Adding a Catalog
Each Sonar project is deployed with an Arctic catalog that provides data management capabilities for that project. To create an additional Arctic catalog:
- In the Dremio Cloud UI, click the Dremio Services icon
 in the left-hand side navigation bar and select Arctic Catalogs.
 - In the top right hand corner, click the Add catalog button.
- In the New Arctic Catalog dialog, enter a catalog name in the Catalog Name field.
- Catalog names must be unique within a Dremio Cloud organization. Consider a name that is easy for users to reference.
- The catalog name cannot be edited.
- The catalog name cannot exceed 255 characters and must contain only the following: 0-9, A-Z, a-z, underscore(_), or hyphen (-).
- Click Add.
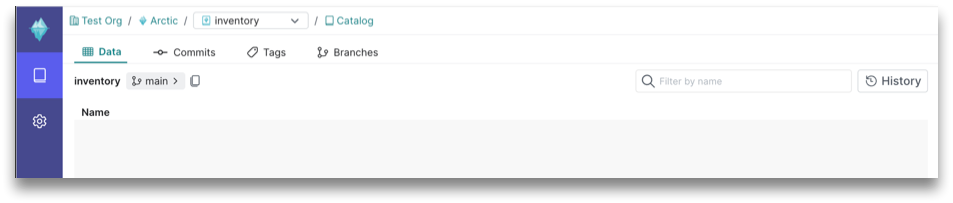
After the catalog is created, you will be taken to its main page:
Managing Catalog Settings
Each catalog provides a menu to manage various settings for the catalog, including compute settings for optimization tasks and Role-Based Access Control (RBAC) privileges.
To manage Arctic catalog settings from the Arctic Catalogs page, hover over the Arctic catalog and click ![]() .
.
From this page, you can manage General Information, Configuration, and Privileges:
- General Information: View details like catalog name, ID, and endpoint, and add the catalog to Sonar projects. To learn more about connecting to an Arctic catalog from a compute engine, see Configuring Your Engine.
- Configuration: Manage compute and storage resources your Arctic catalog uses to perform automated optimization tasks. To learn more about automated optimization in Arctic and resources required, see Automatic Optimization.
- Privileges: Manage Role-Based Access Control (RBAC) access privileges for your Arctic catalog. To learn more about access control in Arctic, see Privileges.
Deleting a Catalog
To delete an Arctic catalog:
- From the Arctic Catalogs page, hover over the Arctic catalog and click Catalog Settings
 .
. - On the General Information tab, under the Delete Catalog section, click Delete Catalog.
- In the Delete dialog, confirm the deletion by entering the name of the catalog in the provided field.
- Click Delete.
Once the catalog is deleted, you will be taken back to the Arctic Catalogs page. A message confirming catalog deletion will be displayed at the top of the page.