Data Curation
Describing Data
Dremio provides the following tools for describing, identifying, and displaying data:
- Wikis
- Tags
- Catalogs
Wikis
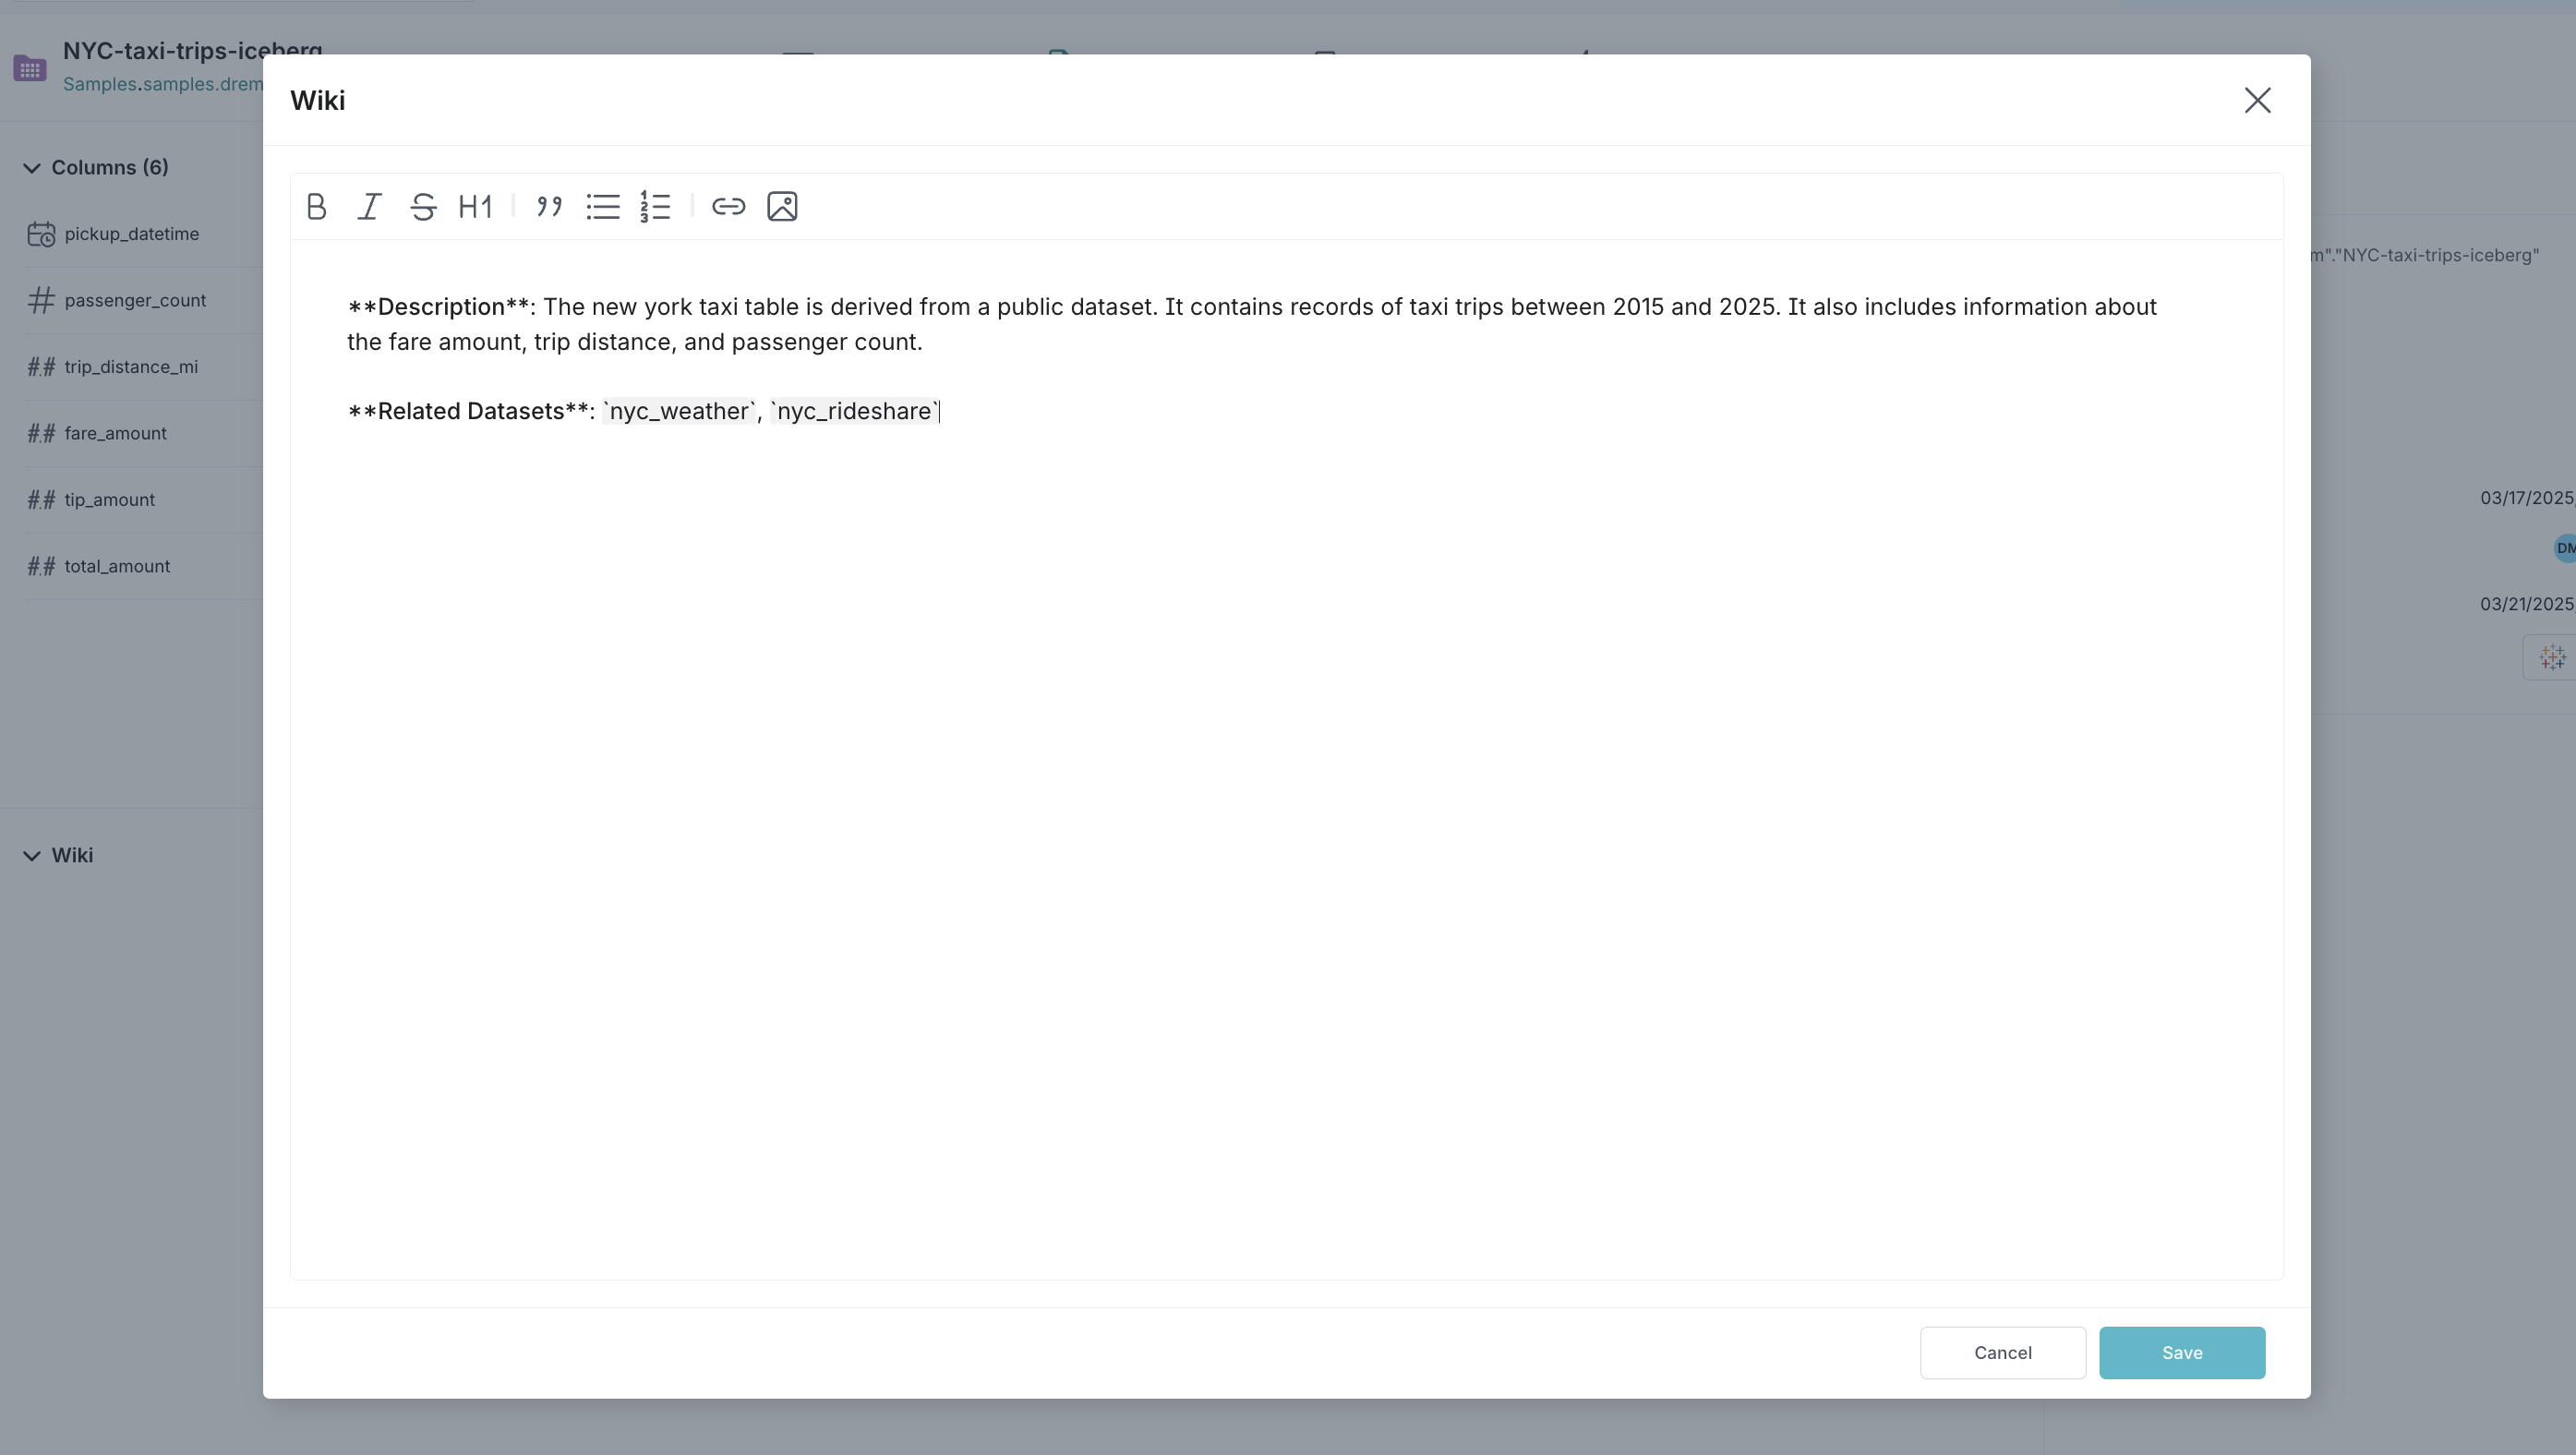
The Wiki allows you to add a description for a Space (and its datasets) or a Source (and its datasets). The Wiki's formatting language is a Github-flavored markdown and supported by a rich text editor.

Tags
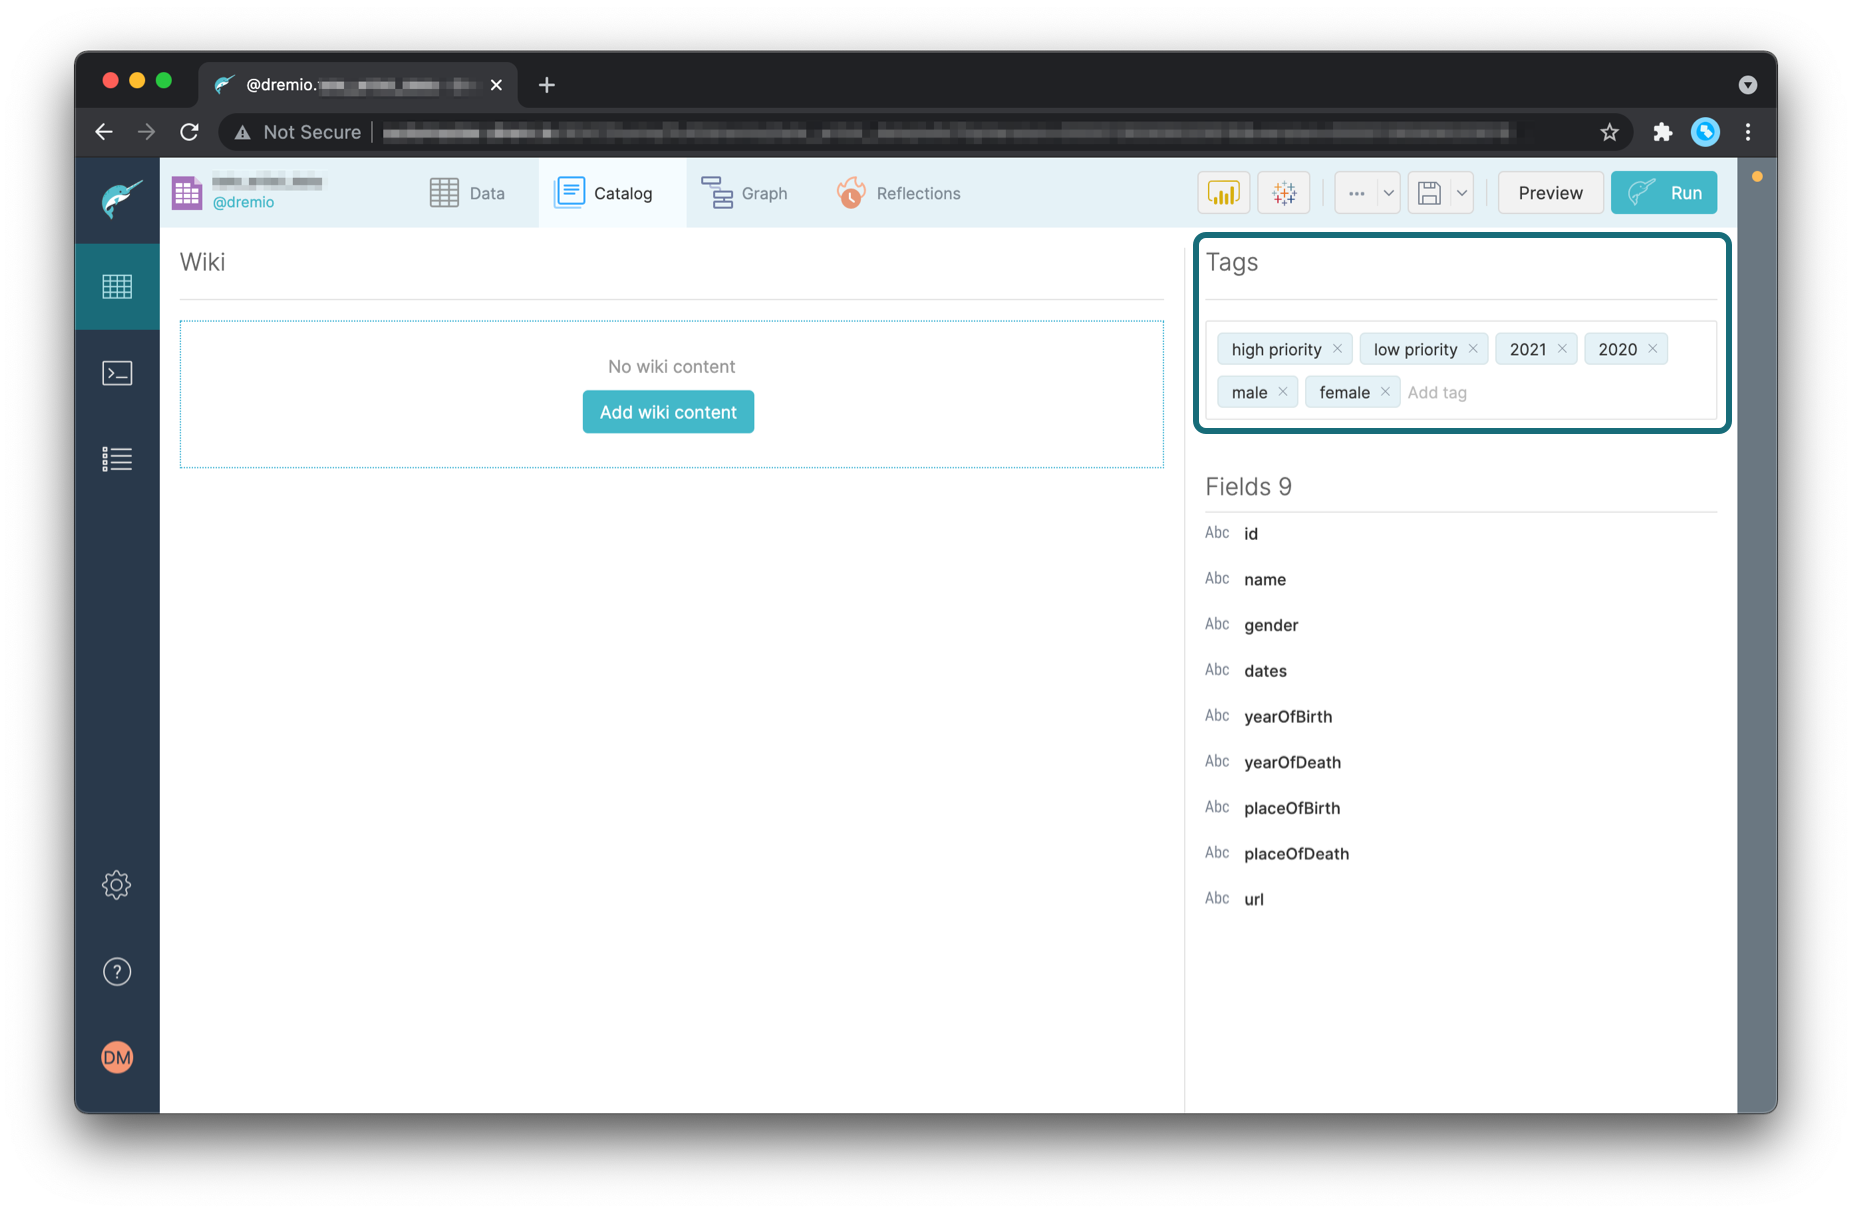
Tags allow you to create and assign tags to all datasets. You can search for items based on a tag and click on a tag to start a search based on that specific tag. The following images shows a dataset in a space with several tags. In this example, "best tag" was selected and is shown in the search field.

Catalog tab
The Catalog tab displays Wiki content, Tags, and Fields for all datasets.
Transforming Data
To begin a data transformation, via one of the following methods:
- Highlighting a portion or all of a field's value
- Using the dropdown menu for the transformation. The dropdown is to the right of the field's name.
Using Highlighting
The highlighting method is often the most intuitive method.
It provides enough context for Dremio to make some best guesses
about how to execute the transformation that you have in mind.
For instance, you could highlight a portion of a field that contains customer names to quickly perform an extract that creates a new field with only last names.
Suggestion Cards
For transformations that are initiated by highlighting part or all of a field value,
Dremio uses a heuristic to determine a set of "suggestion cards" that represent its
best guesses as to your intended result.
You can click on one of these suggestion cards to inspect a preview of the new dataset and confirm that it matches your expectations. If no suggestion card is a perfect match, you can "flip" the card (by clicking the pencil icon in the upper right corner) to tweak the card's parameters before applying the transformation.
The highlight method is great for beginning an extract. However, in cases where other capabilities are required, the dropdown menu may be more useful.
Using Dropdown Menus
The dropdown menu provides a more complete list of transformations that are applicable to the data type. These include Unnest for complex list type data (see Dealing with Complex Types) and Convert Case for text type data (see Cleaning Text).
Fixing Inconsistent Data with a Join
In situations where the entries in a field are inconsistent (for example, different spellings or abbreviations for the same name), the following technique can be used to increase the quality of the dataset:
Identify the field with the problematic data. It may be useful to run this command in the SQL Editor:
Identify a fieldSELECT DISTINCT myProblemFieldName FROM myDatasource.myTableDownload the results as CSV using the Download button.
Open the file in a text editor or Excel and create lookup values for the distinct values from your table in a second column. For example, standardizing variations in color names to a single canonical name.
Upload this file to your Home space on Dremio
Open this new dataset and hit the Join button located on the left above the field names
Select Custom Join and then the name of the inconsistent dataset you would like to fix, followed by Next
Drag over the name of the left column from your uploaded dataset, and match it with the name of the field you would like to correct in the inconsistent dataset
Apply the Join then drop the old field, renaming the new one to take its place
Save the corrected dataset
Cleaning Text
For text data, excess whitespace and changing capitalization schemes are two common data cleanliness issues. Dremio provides two transformations for dealing with these possible inconsistencies: Trim Whitespace and Convert Case.
In this example, a text field with a mixed capitalization scheme is transformed into consistency:
Handling Invalid, Empty and NULL Values
Fields with invalid values (such as the text 'N/A' in an otherwise numeric column) are marked
with an orange type icon as a 'mixed type' field.
These can be handled by clicking the orange mixed type icon using the dialog that appears to clean up the data.
See Dealing with Mixed Types
for more information.
Empty or NULL text values are best eliminated by using Exclude. You can initiate this transformation by:
highlighting a value from the field that contains empty or NULL values, and
selecting Exclude from the dropdown that appears. This renders a list of the values in this field, and the frequency at which they occur.
Check the boxes next to the empty and/or NULL values you which to exclude from the dataset and click Apply.
In the following example, we remove blank values from a field that holds state names:
Working with Dates
In Dremio you can convert a text type field that contains date information into a proper date type field. This allows you to do more sophisticated analyses in external tools such as spotting by trends by month, year, or quarter.
You can begin this conversion by selecting 'Date & Time' from the type menu located to the left of the text field's name. In the subsequent dialog, Dremio provides a dropdown for selecting whether the output should be a time, date, date and time. It also gives a few default options for the format as well as a 'Custom' field for indicating a custom format.
Dremio supports the following formatting elements:
| Format Element | Description | Example Output |
|---|---|---|
| AD/BC | Era indicator | AD, BC |
| AM/PM | Meridian indicator | AM, PM |
| CC | Century indicator (0-99) | 19 |
| WW | Week of year (0-52) | 4, 43 |
| D | Day of week (1-7) | 6 |
| DY | Abbreviated day name of week | Tue, Fri |
| DAY | Full day name of week | Tuesday, Friday |
| YYYY | Four digits of year | 1996 |
| YY | Last two digits of year | 96 |
| DDD | Day of year (1-366) | 5, 245 |
| MM | Month (1-12) | 8 |
| MON | Abbreviated month name | Mar, Oct |
| MONTH | Full month name | March, October |
| DD | Day of month (1-31) | 24 |
| HH/HH12 | Hour of day (1-12) | 4 |
| HH24 | Hour of day (0-23) | 21 |
| MI | Minutes (0-59) | 22 |
| SS | Seconds (0-59) | 54 |
| FFF | Milliseconds | 121 |
| TZD | Timezone abbreviation | UTC, PST |
| TZO | Timezone offset | +02:00, -0800 |
- Only the following characters are allowed in a format pattern:
- / , . ; :. - If you need to let a value pass through to the output unmodified,
you can surround it with double quotes
"(for example,"T"). - If you convert a date to text, numeric values are zero padded for you.
For example,MMreturns04for April.
Copying and Downloading Result Sets
You can copy the result sets from the display window to a clipboard or Notepad. This is accomplished via a button on the results table that copies the data from the query to the clipboard. The maximum number of records copied is 5,000.
You can download your result sets. Downloaded jobs run much faster as they no longer rerun the original query, but essentially download the results from the distributed storage directly. That is, what is configured for the distributed storage. See Configuring Distributed Storage for more information.
Result sets can be downloaded in one of the following formats:
- JSON
- CSV
- Parquet
If you click (or command-click) on the format type, the dataset is downloaded:
- To your default download location.
- With the default file name of the user Job ID.
If you right-click on the format type, you have the option to select Save Link As…. This allows you to:
- Specify the file name.
- Specify the download location.
The downloaded data is the previous output query results set (the query is not re-run for the download action).